There’s something incredibly satisfying about taking a beloved comfort food classic and transforming it into bite-sized perfection. I first stumbled upon this concept during a particularly hectic week when I needed something that worked as both a quick family dinner and leftovers for lunch boxes. My kids were tired of the usual meatloaf slice on their plate, so I decided to experiment. The result? These adorable, cheese-filled meatloaf bites that disappeared faster than I could make them. Now they’re a staple in our rotation, especially when we’re hosting game nights or need an easy appetizer that actually fills people up.
Why You’ll Love This Recipe
These mini meatloaf bites check every box for busy home cooks. First, they cook in roughly half the time of a traditional meatloaf, meaning dinner can be on the table in under 30 minutes from start to finish. Additionally, the individual portions make serving a breeze—no slicing, no messy cutting board, just grab and go.
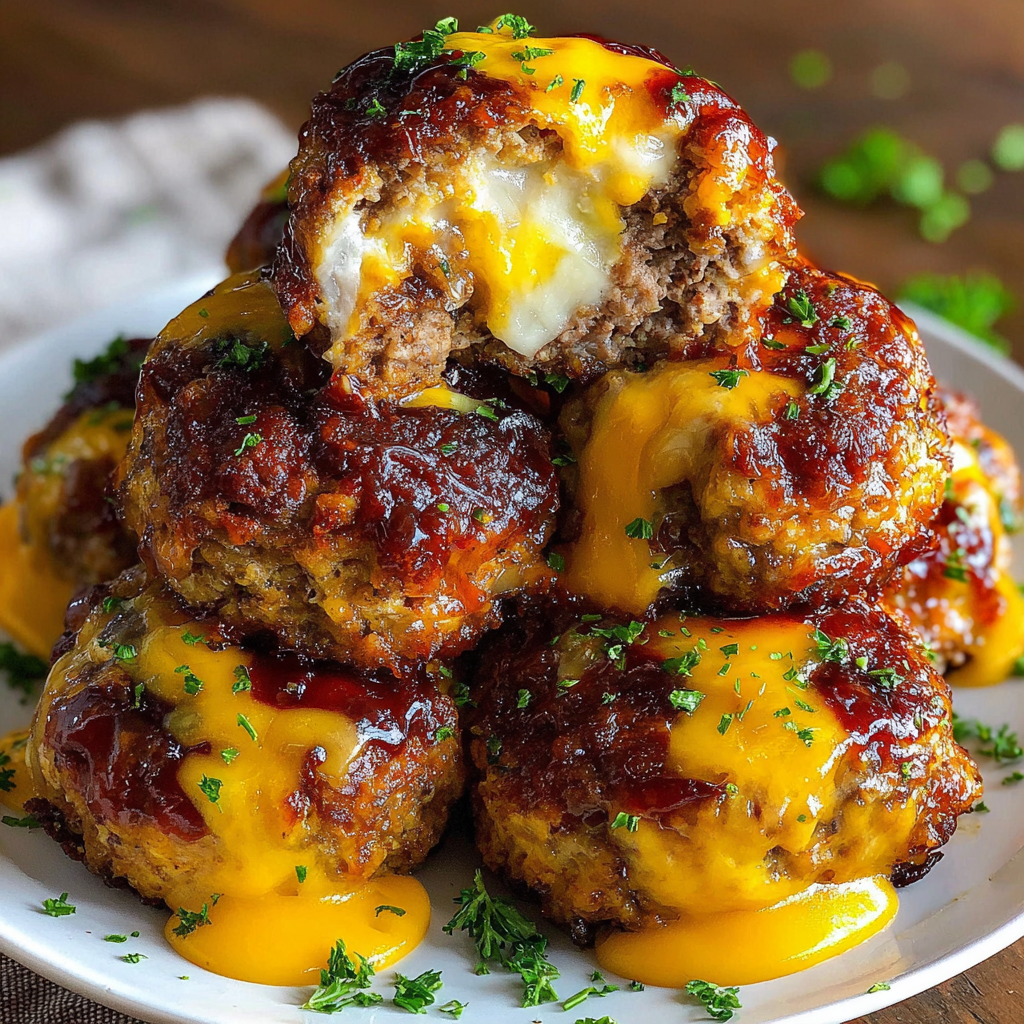
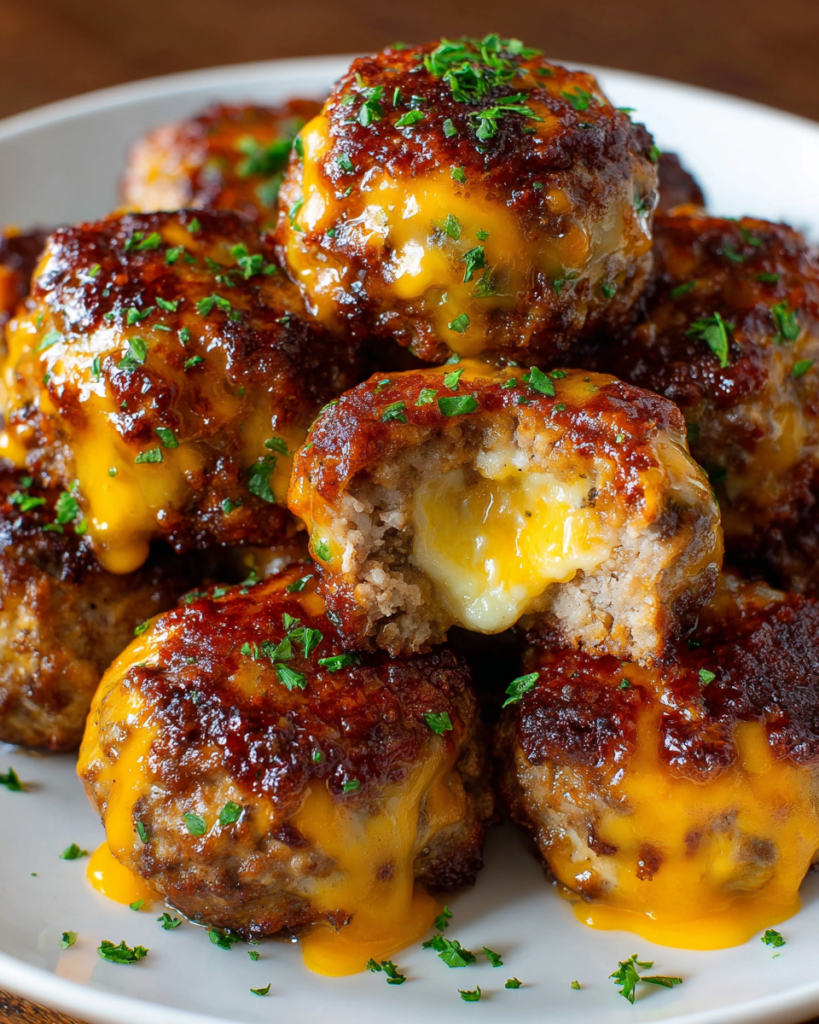
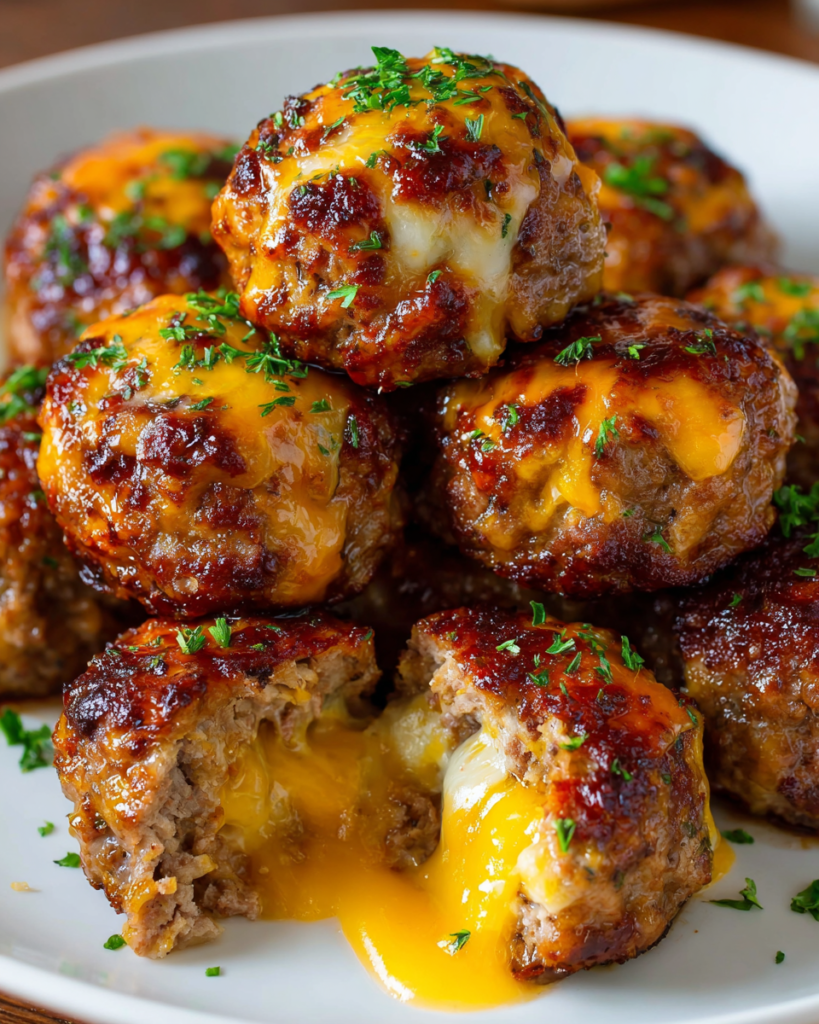
The molten cheese center elevates these beyond ordinary meatloaf territory. Each bite delivers that delightful surprise when you cut into it and find gooey cheddar or mozzarella waiting inside. Furthermore, the increased surface area means more of that sweet and tangy glaze gets caramelized on each piece, creating a perfect balance of flavors in every mouthful.
Perfect for Any Occasion
Whether you’re meal prepping for the week, throwing together an impressive appetizer platter, or simply wanting to make weeknight dinners more exciting, these bites adapt beautifully. Kids love the fun, poppable size, while adults appreciate the nostalgic comfort food flavor with a modern twist.
Everything You’ll Need
Meatloaf Mixture
- 1 pound ground beef
- 1/2 cup breadcrumbs
- 1/4 cup milk
- 1 large egg
- 1 small onion, finely chopped
- 2 cloves garlic, minced
- 1 teaspoon salt
- 1/2 teaspoon black pepper
- 1 teaspoon Worcestershire sauce
- 1/4 cup ketchup
- 1 tablespoon mustard
Filling & Garnish
- 3 to 4 ounces cheddar or mozzarella cheese, cubed
- 1/4 cup ketchup
- 1 teaspoon mustard
- Fresh parsley, chopped (optional)
Steps to Cook
Step 1: Prepare Your Workspace Preheat your oven to 375°F (190°C) and generously grease a mini muffin tin to prevent sticking. This preparation step is crucial for easy removal later, so don’t skip the greasing.
Step 2: Mix the Meatloaf Base In a large bowl, thoroughly combine ground beef, breadcrumbs, milk, egg, onion, garlic, salt, pepper, Worcestershire sauce, 1/4 cup ketchup, and mustard until evenly incorporated. Avoid overmixing, as this can result in tough, dense bites rather than tender ones.
Step 3: Form the Cheese-Stuffed Bites Scoop approximately 2 tablespoons of the meat mixture and flatten it in your palm. Place a cheese cube in the center, then carefully roll the meat around it, forming a sealed ball. Make sure the cheese is completely enclosed to prevent leakage during baking. Arrange each ball into a muffin tin cup, pressing gently to secure.
Step 4: Apply the Glaze Combine the remaining 1/4 cup ketchup with 1 teaspoon mustard in a small bowl. Spoon a small amount of this tangy glaze on top of each meatloaf bite, ensuring even coverage for maximum flavor.
Step 5: Bake to Perfection Bake for 18 to 22 minutes until the exterior develops a beautiful brown crust and the internal temperature reaches 160°F (71°C). The exact timing may vary depending on your oven, so checking the temperature is the most reliable method.
Step 6: Cool and Serve Allow the bites to cool for 5 minutes in the tin before removing. This resting period helps them hold their shape and makes removal easier. Garnish with freshly chopped parsley if desired, and serve warm for the best cheese pull.
Serving Suggestions
These versatile bites shine in various serving scenarios. For a complete meal, pair them with creamy mashed potatoes and roasted green beans to recreate that classic meatloaf dinner experience in miniature form. Alternatively, serve them as appetizers with toothpicks alongside a selection of dipping sauces—think barbecue sauce, ranch dressing, or honey mustard.
Creating a fun party platter is another excellent option. Arrange the bites on a large board with cherry tomatoes, cucumber slices, and crackers for a protein-packed snack spread. For lunch boxes or picnics, pack them cold with some carrot sticks and a small container of ketchup for dipping.
Recipe Variations
Cheese Options
While cheddar and mozzarella are the classics, experimenting with different cheeses opens up new flavor profiles. Pepper jack adds a spicy kick that adults particularly enjoy, whereas Swiss cheese offers a milder, nuttier taste. For something truly indulgent, try smoked gouda—its rich, smoky flavor complements the beef beautifully.
Meat Alternatives
Ground turkey or chicken work wonderfully as lighter alternatives to beef. When using poultry, consider adding an extra tablespoon of Worcestershire sauce to boost the savory depth. Ground pork or a beef-pork blend (meatloaf mix) also creates incredibly juicy, flavorful bites.
Flavor Boosters
Italian-inspired bites come together quickly by swapping the standard seasonings for Italian herbs, using marinara instead of ketchup glaze, and stuffing with mozzarella. Meanwhile, a Tex-Mex version works beautifully with taco seasoning, pepper jack cheese, and a chipotle-ketchup glaze.
Adding finely diced vegetables like bell peppers, mushrooms, or grated zucchini increases nutrition and moisture without significantly changing the texture. Just be sure to squeeze excess moisture from watery vegetables before mixing them in.
Make-Ahead Tips
These meatloaf bites are exceptionally freezer-friendly, making them perfect for batch cooking. Prepare the bites through step 3, then freeze them unbaked on a parchment-lined baking sheet. Once solid, transfer to a freezer bag where they’ll keep for up to three months. When you’re ready to enjoy them, bake directly from frozen, adding an extra 5 to 8 minutes to the cooking time.
For refrigerator storage, fully cooked bites stay fresh for 3 to 4 days in an airtight container. Reheat them in a 350°F oven for about 10 minutes or microwave for 30 to 45 seconds until warmed through. The oven method helps maintain that slightly crispy exterior, though the microwave works in a pinch.
Meal preppers will appreciate how well these reheat throughout the week. Pack them with your favorite sides in divided containers for grab-and-go lunches that actually taste homemade because they are.
Notes
Preventing Cheese Leakage The most common issue with stuffed recipes is cheese escaping during cooking. To avoid this frustration, ensure your cheese cubes are fully enclosed with no gaps in the meat covering. Slightly wet hands make forming the balls easier and help seal any small cracks. If you notice a gap while placing the bite in the tin, simply pinch the meat together to close it.
Uniform Size Matters Using a cookie scoop or measuring roughly 2 tablespoons per bite ensures even cooking. When all your bites are the same size, they finish at the same time, preventing some from being overcooked while others remain underdone.
Checking for Doneness While timing provides a good guideline, internal temperature is the most reliable indicator. Invest in an instant-read thermometer if you don’t already own one. Insert it into the center of a bite (avoiding the cheese) to confirm it has reached 160°F.
Glaze Alternatives Not a fan of ketchup-based glazes? Try barbecue sauce mixed with a splash of apple cider vinegar for tang, or combine brown sugar with tomato paste and Dijon mustard for a sweet-savory coating. The key is balancing sweetness with acidity to complement the rich meat.
Frequently Asked Questions
Can I use a regular muffin tin instead of a mini one?
Absolutely! Regular muffin tins work perfectly fine, though you’ll get fewer, larger portions. Increase the baking time to 25 to 30 minutes and adjust the amount of meat mixture per cup to about 1/3 cup. The result will be more of a personal-sized meatloaf rather than a bite-sized appetizer.
What if I don’t have breadcrumbs?
Several substitutes work equally well. Crushed crackers, panko, or even rolled oats all serve the same binding purpose. For a gluten-free version, certified gluten-free oats or almond flour are excellent options that don’t compromise texture.
Why did my bites stick to the pan?
Insufficient greasing is usually the culprit here. Make sure to coat every cup thoroughly with cooking spray or brush with oil. Alternatively, use silicone muffin liners for foolproof release every time. Let the bites cool for the full 5 minutes before attempting removal, as they firm up during this resting period.
Can I make these ahead and bake later?
Yes, assembled raw bites can be refrigerated for up to 24 hours before baking. Cover the muffin tin tightly with plastic wrap to prevent the meat from drying out. You may need to add 2 to 3 minutes to the baking time since they’ll be starting from a colder temperature.
How do I know when they’re fully cooked without a thermometer?
Cut one bite in half to check that the meat is no longer pink and the juices run clear. However, investing in an instant-read thermometer takes the guesswork out of cooking meat and is useful for countless other recipes, so I highly recommend adding one to your kitchen toolkit.
What sides pair best with these bites?
Classic comfort sides like mac and cheese, coleslaw, or roasted vegetables all complement these beautifully. For a lighter option, serve them over a fresh garden salad with ranch dressing. The bites are hearty enough to be the protein star of any meal.